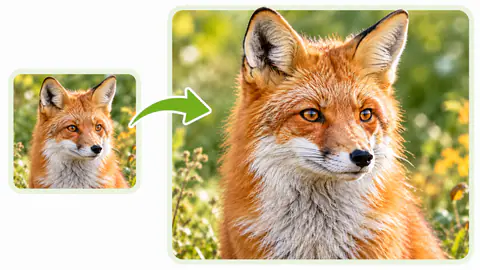
Fix blurry photos
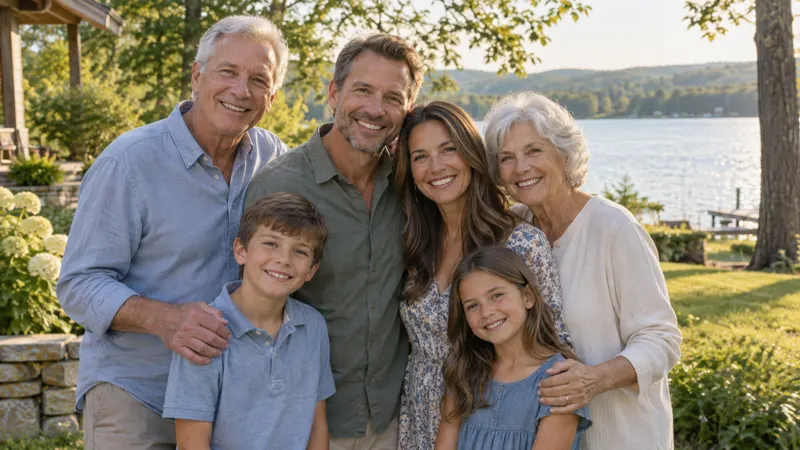
A group photo where the camera focused on the wall behind everyone. If the miss is small, faces come back sharp. Strong motion blur improves much less.
Images 0/1
Upload a photo that came out blurry, noisy, or blocky, and get a clearer version of the same shot in one click.


Drag the divider across each example and look at the eyelashes, hair, and fabric. Fine detail is where the difference shows most.
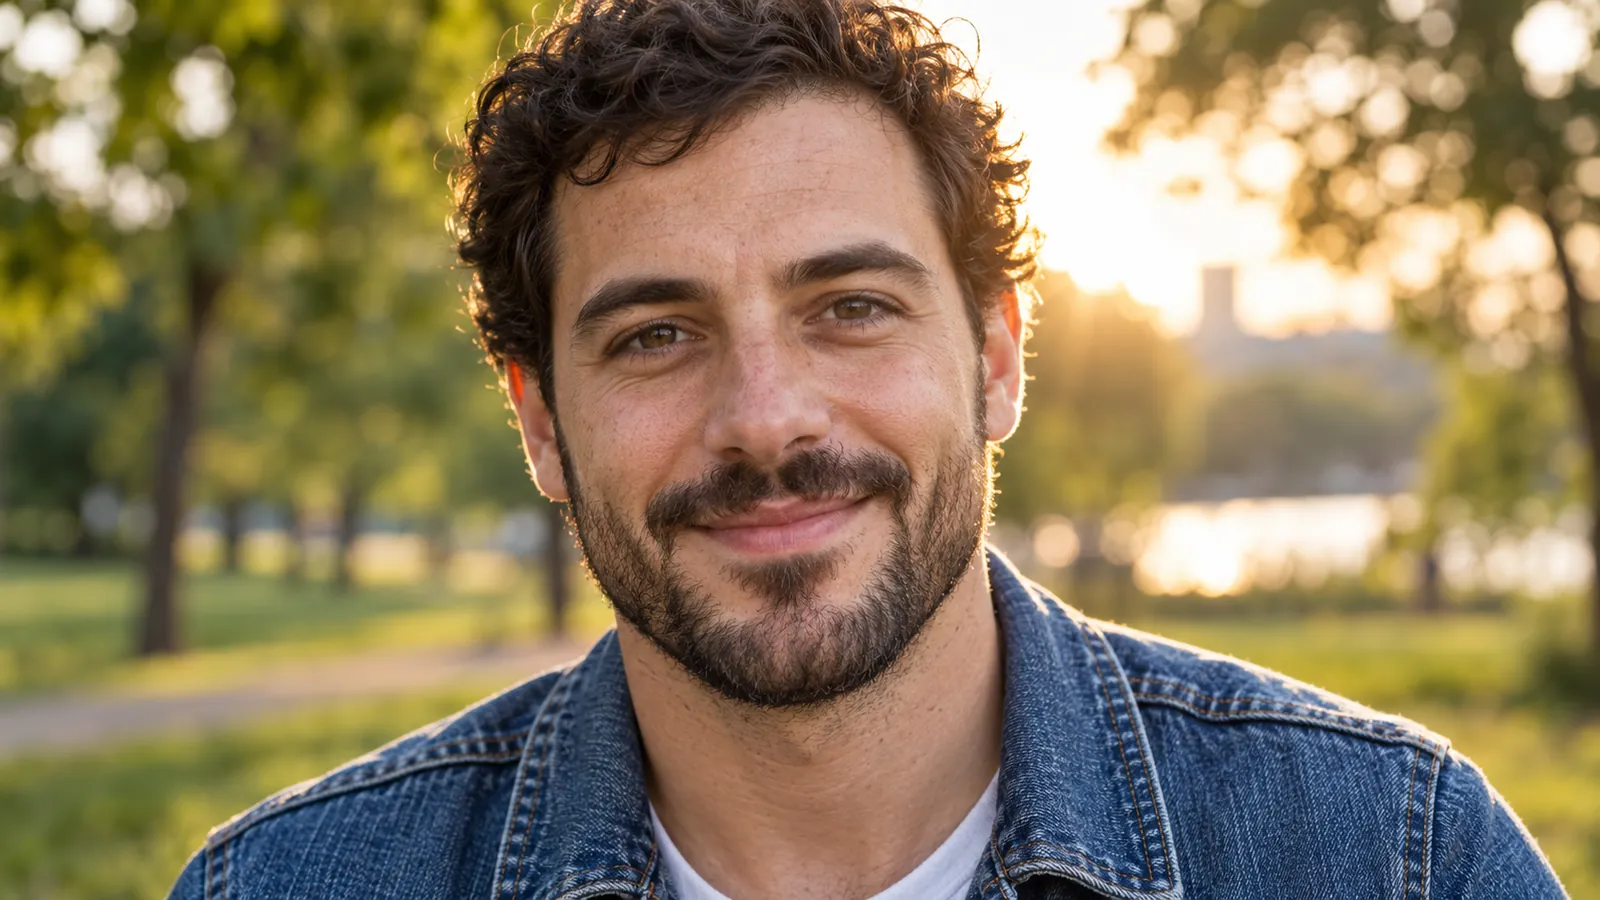


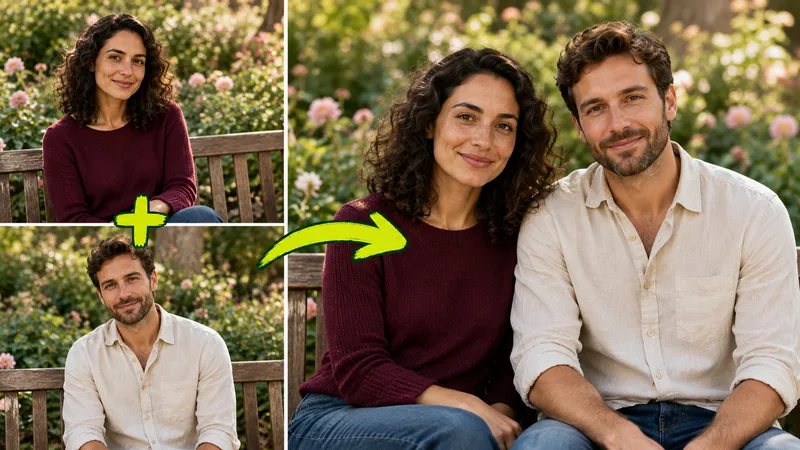
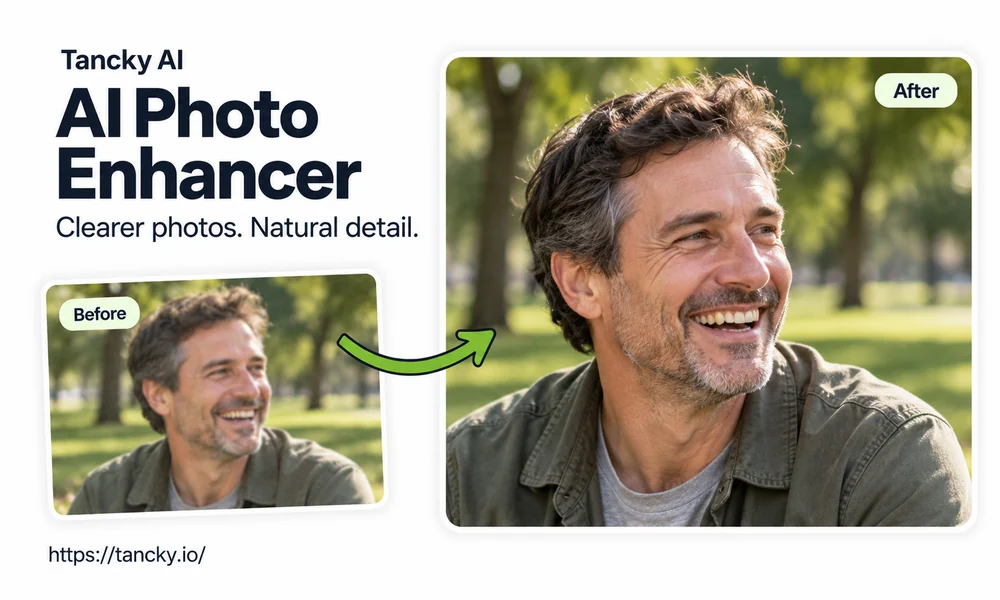
The camera focused on the trees behind him, so his face went soft. Enhancing brings back the eyelashes, beard hairs, and the weave of the denim.
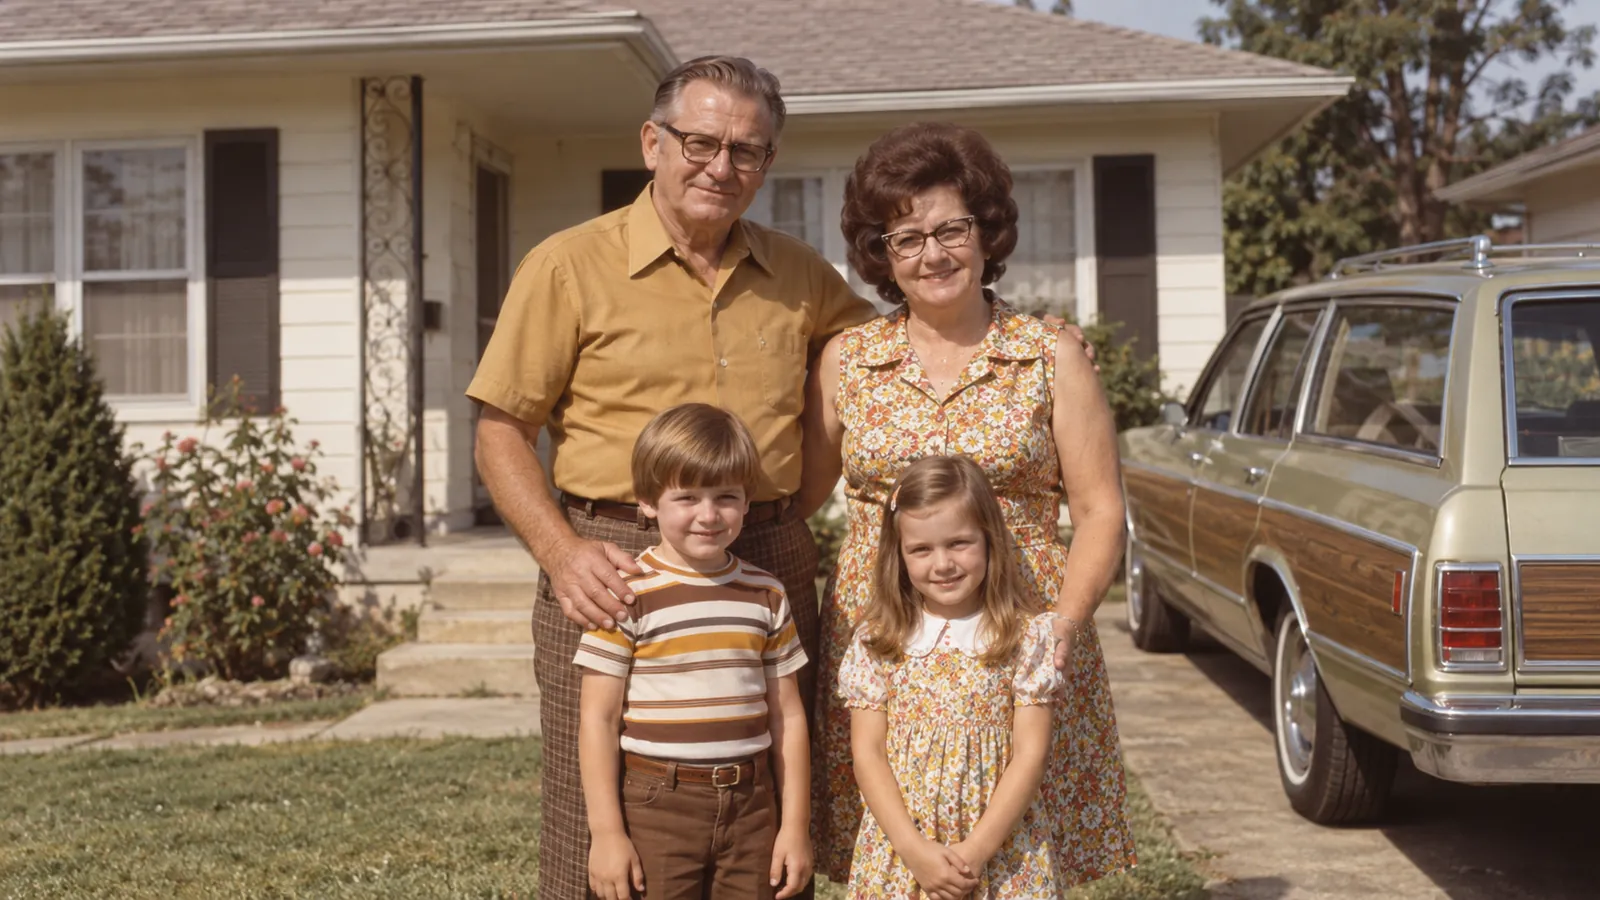
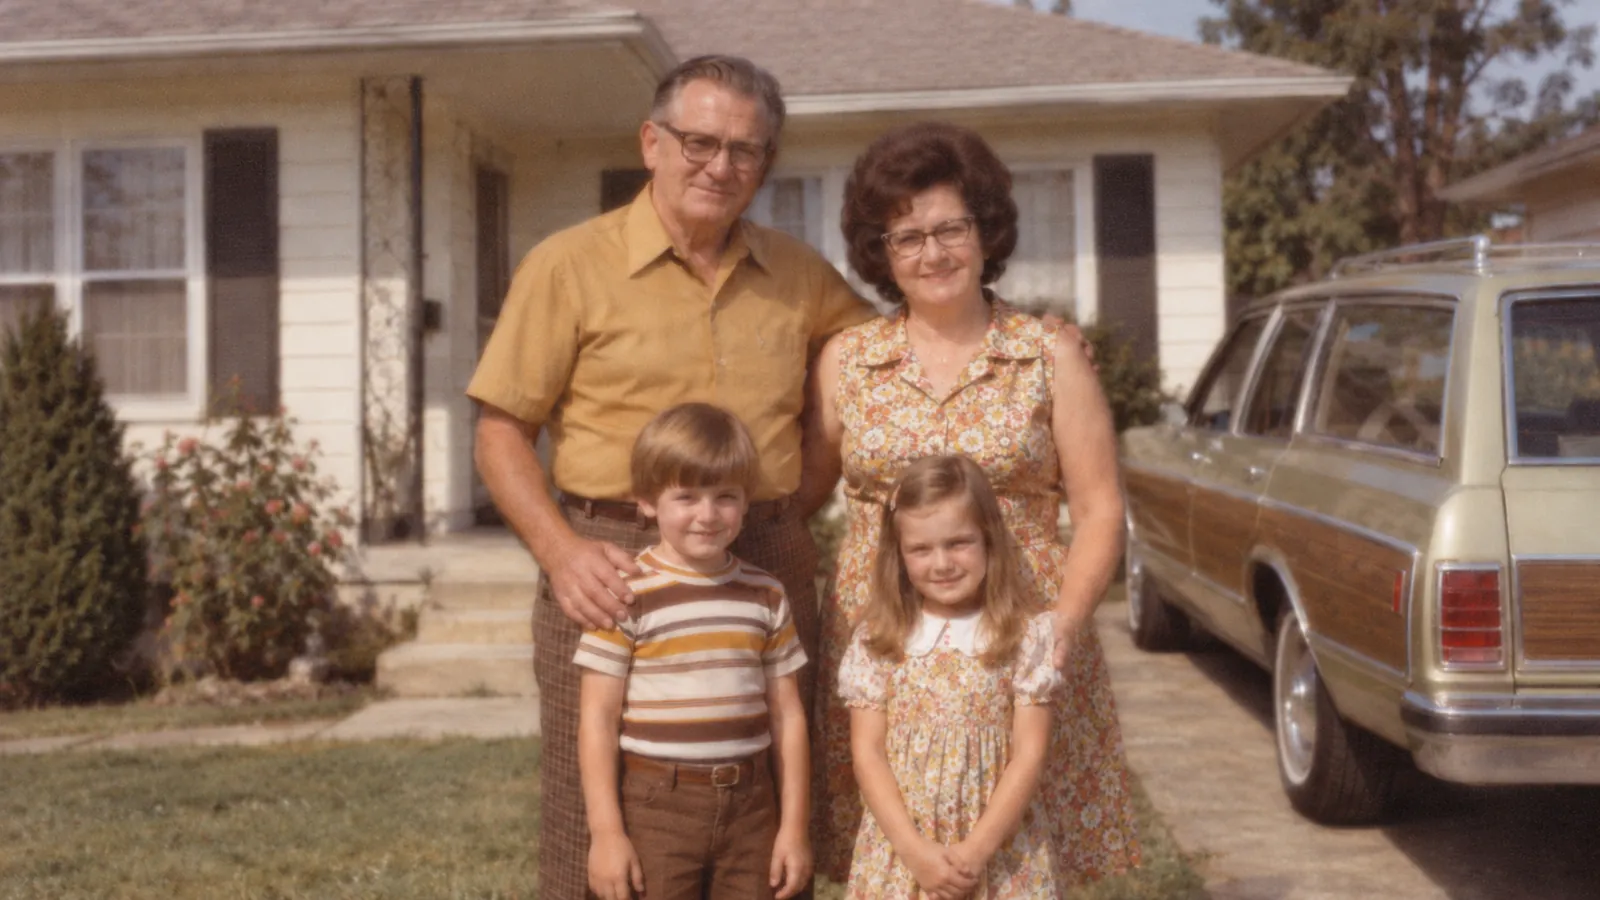
A family print from the 1970s, scanned at home. Faces and clothes get clearer. Scratches and faded color are left as they are.
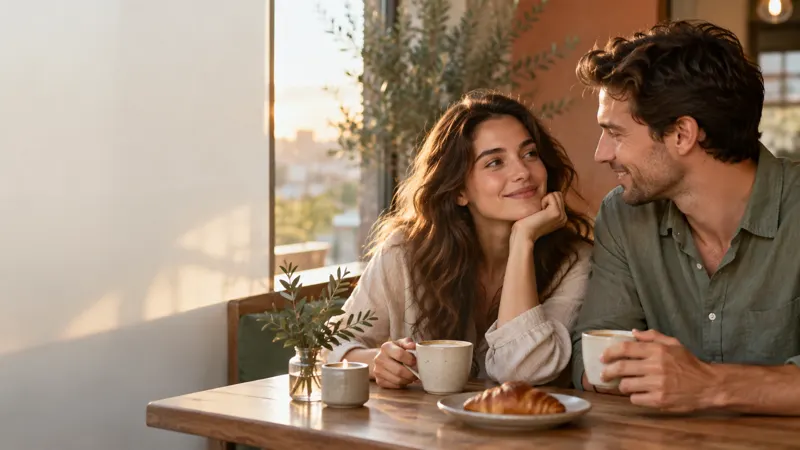
Taken in a dim bar, with colored speckle all over the shadows. The grain clears up and the warm light of the room stays as it was.
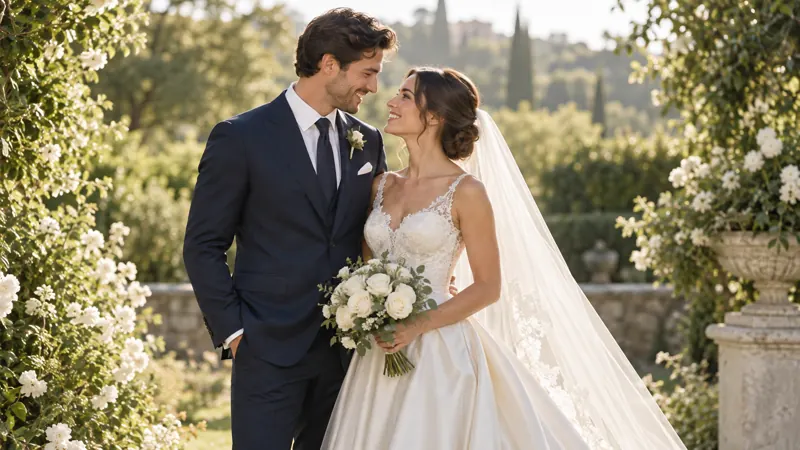
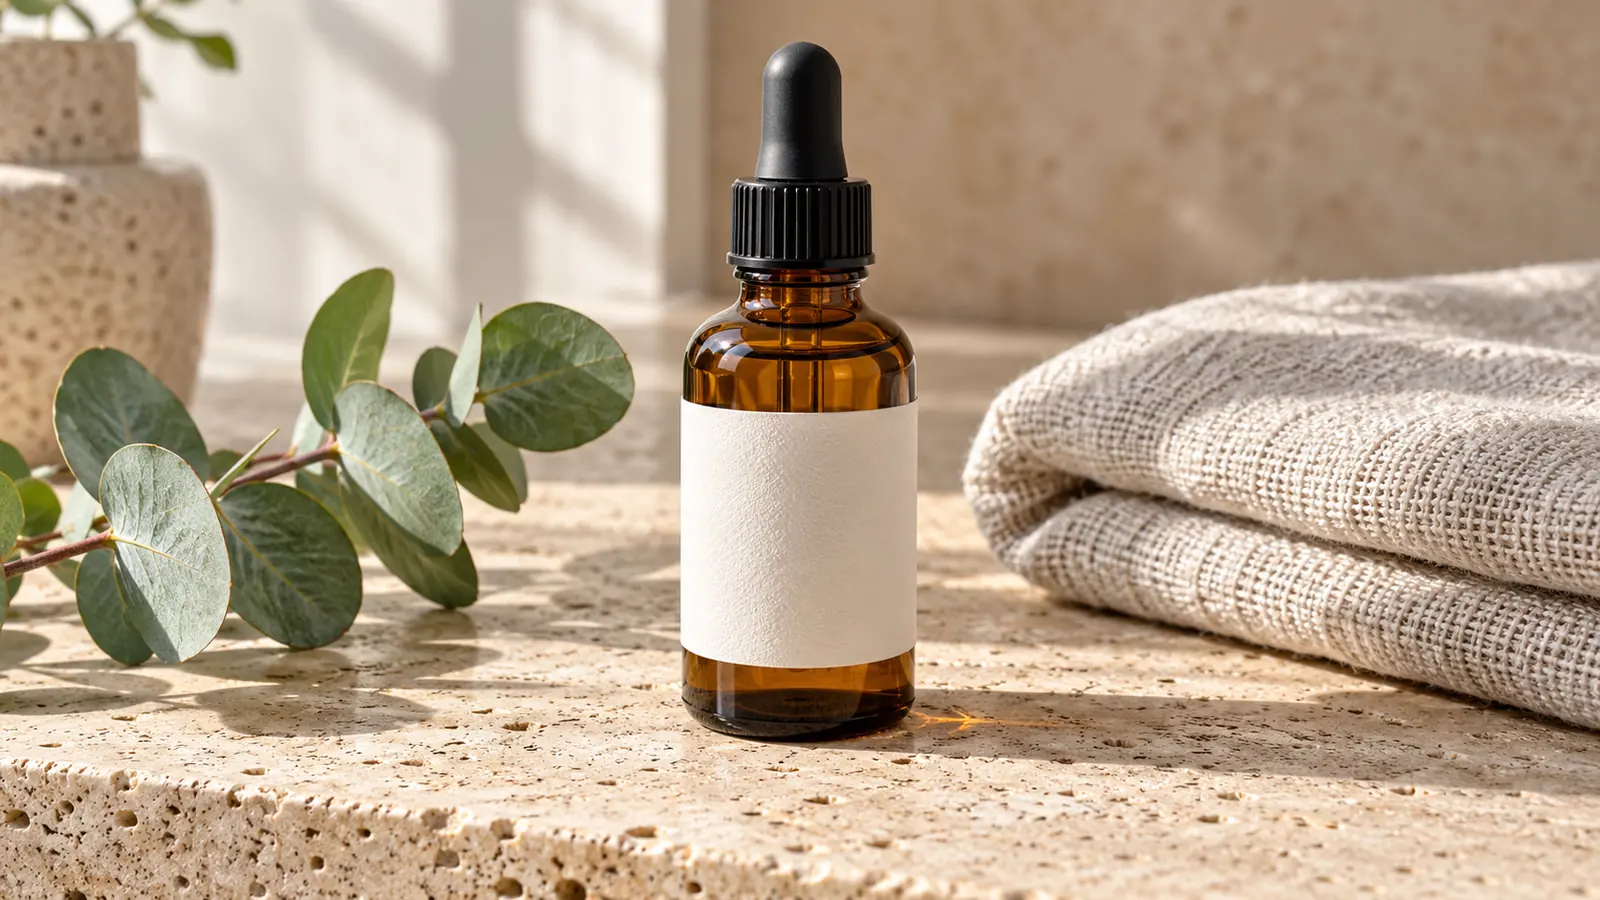
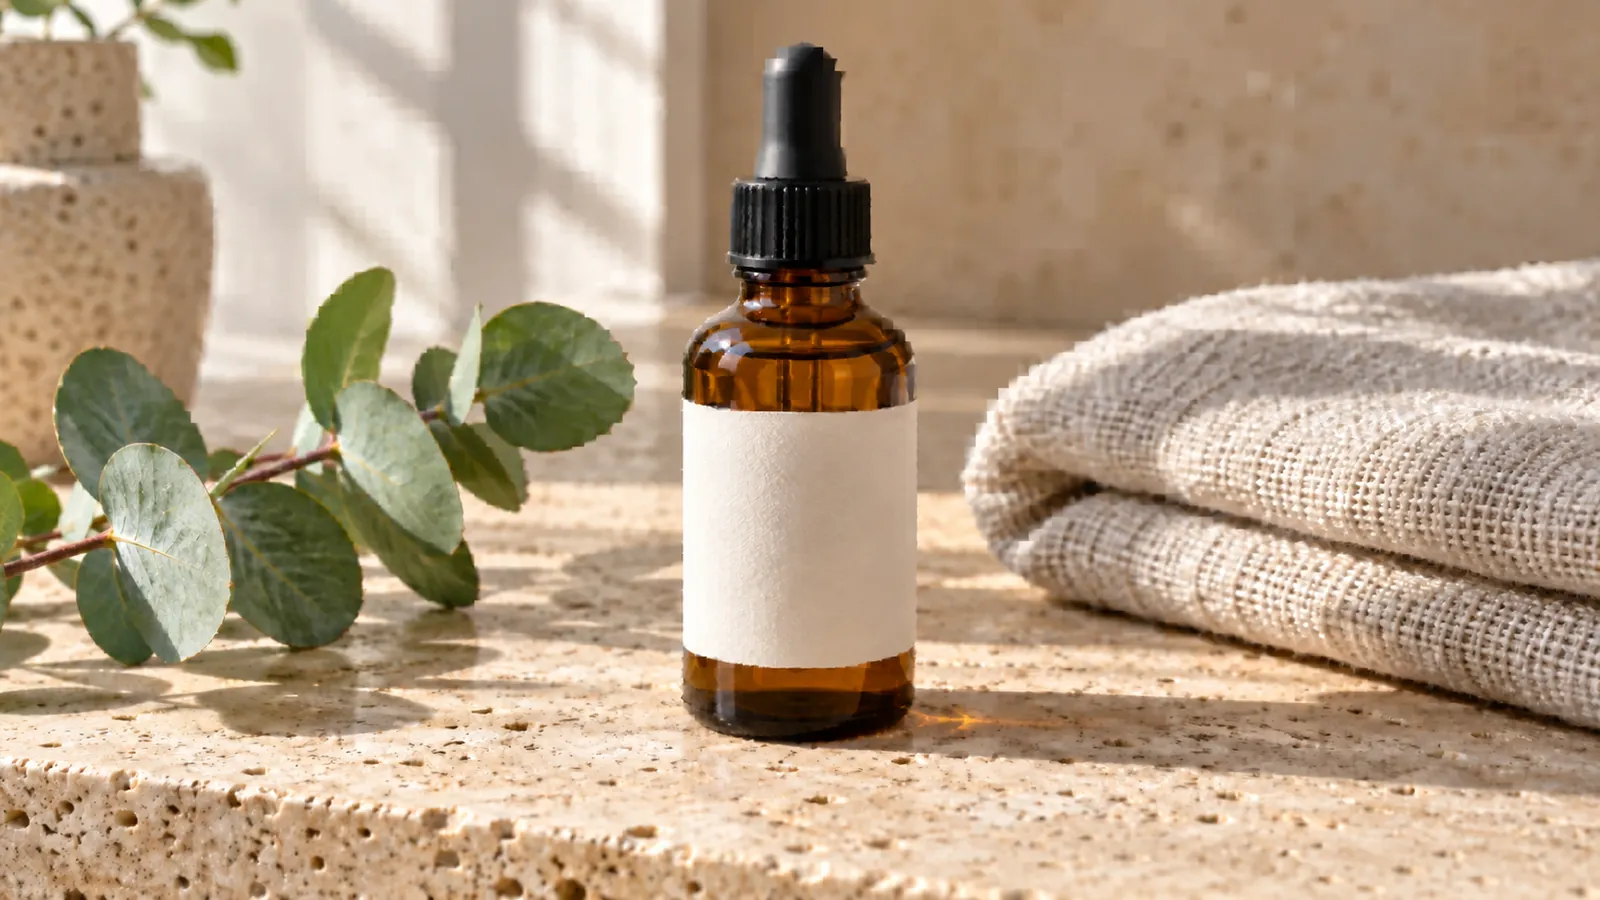
A product photo saved and reposted a few times picks up square blocks around every edge. The blocks smooth out and the glass and linen look crisp again.
An AI image enhancer cleans up flaws in a photo you have already taken: soft focus, sensor noise, and the square blocks that heavy JPEG compression leaves behind. A sharpening slider works on edge contrast, so it makes noise and blocks stand out along with the detail. An enhancement model is trained to tell damage apart from real texture. It removes the noise and blocks, then fills in fine detail such as hair, skin pores, and fabric. That filled-in detail is the model's estimate of what the scene looked like. It looks natural in a portrait or a product shot. For an ID photo, a document, or anything used as evidence, keep the original file.
There is nothing to set up here. Upload a photo and click once: blur, noise, and compression are handled together, and small pictures come back larger. Before you download, drag the comparison handle across the face to check the result.
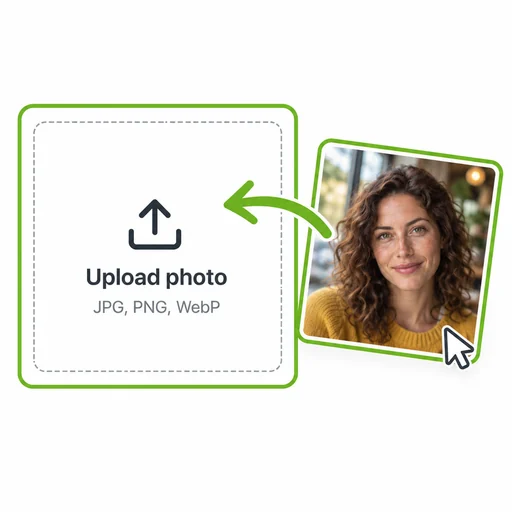
Choose the file from your camera roll or computer. A screenshot, or a copy sent through a messaging app, has been compressed again and has less detail to work with.
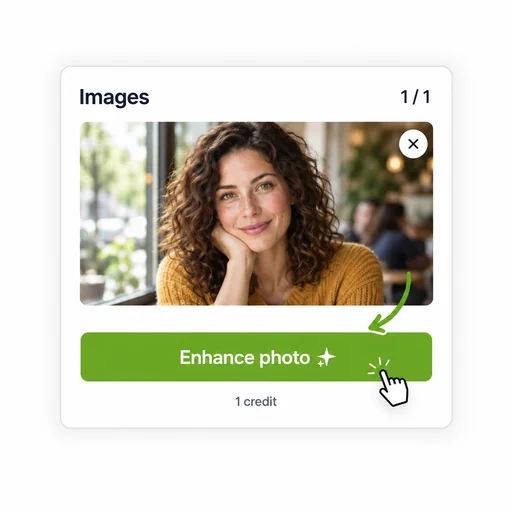
There are no settings to choose. Focus, noise, and compression are handled in one pass, and small images are enlarged at the same time.
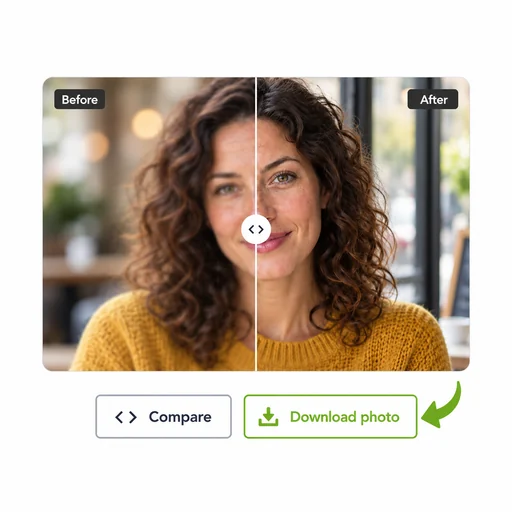
Drag the divider over the face and check the eyes and hairline first, because problems show there before anywhere else. Then download the result.
It is most useful for photos you can't take again.
A group photo where the camera focused on the wall behind everyone. If the miss is small, faces come back sharp. Strong motion blur improves much less.
Pushing a sharpening slider draws bright outlines along edges. The enhancer adds texture to hair, knitwear, and leaves without those outlines.
Your best headshot was cropped out of a group photo and looks soft. Enhance it before you put it on a resume, LinkedIn, or a dating profile.
A frame paused from phone video is soft and smeared by video compression. After enhancing, it holds up as a photo, a small print, or a wallpaper.
Scan the print, or photograph it flat in daylight, and crop off the border before enhancing. Faces get clearer, while scratches and fading are not repaired.
Concert and street photos at night fill up with grain in the shadows. The enhancer clears the grain and leaves the stage lights and street lamps as they were.
These apply to every photo you run, on free and paid accounts alike.
You don't need to work out which problem your photo has. All three are handled in the same run.
Face shape, expression, and freckles stay as they are. No makeup is added and the skin keeps its texture.
If a photo can't be processed, the credit goes back to your balance automatically.
Results from free credits are the same as paid ones, and nothing is stamped on them.
Will it work on your photo, what it costs, what it changes, and what happens to your uploads.
Pick a photo you had given up on and compare the result. New accounts get free credits.