How to Blend Two Photos Together Into One Seamless Image
Two ways to blend two photos into one image: an AI blend with a ready-to-copy prompt, or layers and masks in a photo editor. Includes a seam checklist and fixes.
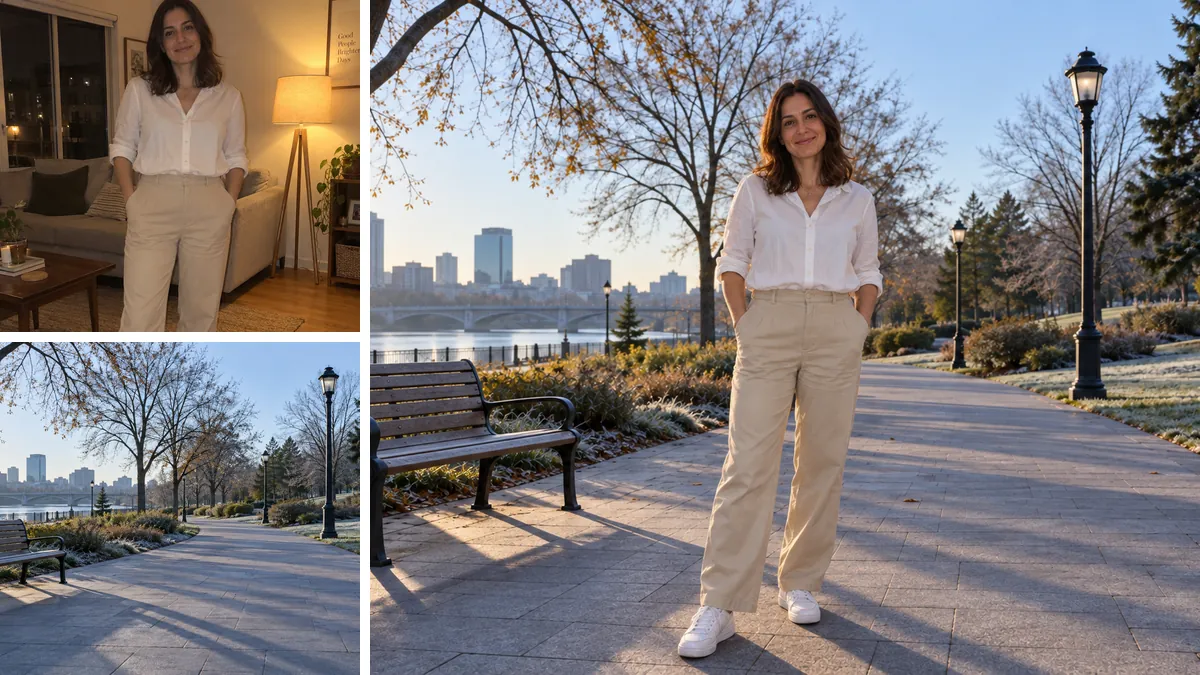
To blend two photos into one seamless image, five things have to agree between them: the scale of the subject, the direction of the light, the color tone, the sharpness, and the edge where one photo meets the other. Get those five to match and the result reads as a single photograph. Miss one and the eye catches it immediately, even when the viewer cannot say what is wrong.
There are two practical ways to get there. An AI blend rebuilds the scene from both photos in a single generation. A layer and mask blend in a photo editor takes longer and keeps every original pixel. This guide covers both, explains how to choose between them, and ends with a checklist for finding the seams before anyone else does.
Why a Blended Photo Looks Fake: Five Mismatches
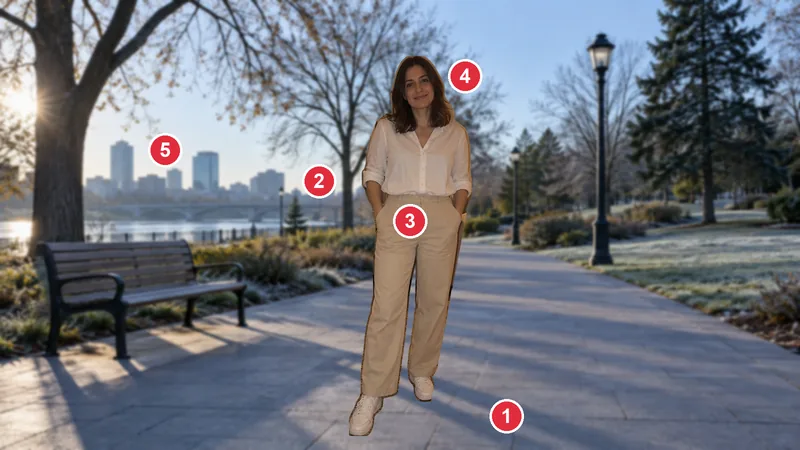
Almost every composite that looks pasted together fails on one of the same five points. Knowing them makes both methods below easier, because each step exists to fix one of them.
- Scale and perspective. A person photographed at eye level and dropped into a scene shot from above will look like they are tipping forward. A subject that is too large or too small for the objects around them breaks the scene before any other detail gets noticed.
- Light direction. If the sun lights the background from the left and your subject is lit from the right, no amount of edge work will save the blend. This is the hardest mismatch to repair afterwards, which is why it is best solved when choosing the photos.
- Color temperature and exposure. Indoor shots lean yellow, shade leans blue, and phone cameras each process color differently. Two photos that each look fine alone can clash once they share a frame.
- Edges. A hard, perfectly clean outline around hair or shoulders is the classic cutout look. Real photos have slightly soft edges, stray hairs, and a little background color spilling onto the subject.
- Sharpness and grain. A crisp studio portrait on top of a soft, noisy evening background looks like two layers because it is two layers. Texture has to match too.
Which Method Should You Use?
The choice comes down to how much of the original photos must survive untouched.
| AI blend | Layers and masks | |
|---|---|---|
| Time | One generation per attempt | Longer, and it grows with how complex the edges are |
| Skill needed | Writing a clear description | Basic comfort with a layer-based editor |
| Original pixels | Redrawn by the model, so small details can change | Kept exactly as shot |
| Lighting and shadows | Rebuilt to match the scene automatically | Adjusted and painted by hand |
| Best for | People into new scenes, joining two people, product staging | Faces that must stay exact, logos and text, landscape fades |
A useful rule: if the light in your two photos comes from clearly different directions, start with AI, because relighting by hand is slow and difficult. If a face, a label, or a document must stay pixel-accurate, use layers and masks.
Method 1: Blend Two Photos with AI
An AI blend does not cut and paste. The model looks at both photos and generates a new image that contains elements of each, with the lighting and shadows redrawn to agree. That is why it handles mismatched light well, and also why it can alter details you wanted to keep. The steps below use our AI Image Combiner, and the same logic applies to any tool that accepts two reference photos.
Step 1: Give each photo one job
Decide before uploading what each photo contributes. The clearest setup is one photo for the subject and one for the scene. Problems start when both photos are asked to supply the same thing, such as two different backgrounds, because the model then has to guess which one wins.
Step 2: Describe the result, including what must not change
A short instruction like "blend these photos" leaves every decision to the model. A good prompt names the role of each photo, lists the details to preserve, and asks for the specific things that make a blend seamless. This one is a reliable starting point:
Seamless Blend Prompt
Blend the person from the first photo into the scene from the second photo. Preserve the person's facial features, hairstyle, clothing, and body proportions. Match the light direction, color temperature, exposure, and perspective of the scene. Adjust the person's size and position so they sit naturally in the space, and add soft shadows that fit the environment. Handle the hair and body edges carefully, with no visible seams, halos, or cutout look. The result should look like one real photograph taken at the same time and place.
Change the nouns to fit your photos. Keep the structure: source, what to preserve, what to match, what to avoid.
Step 3: Check the parts AI tends to change
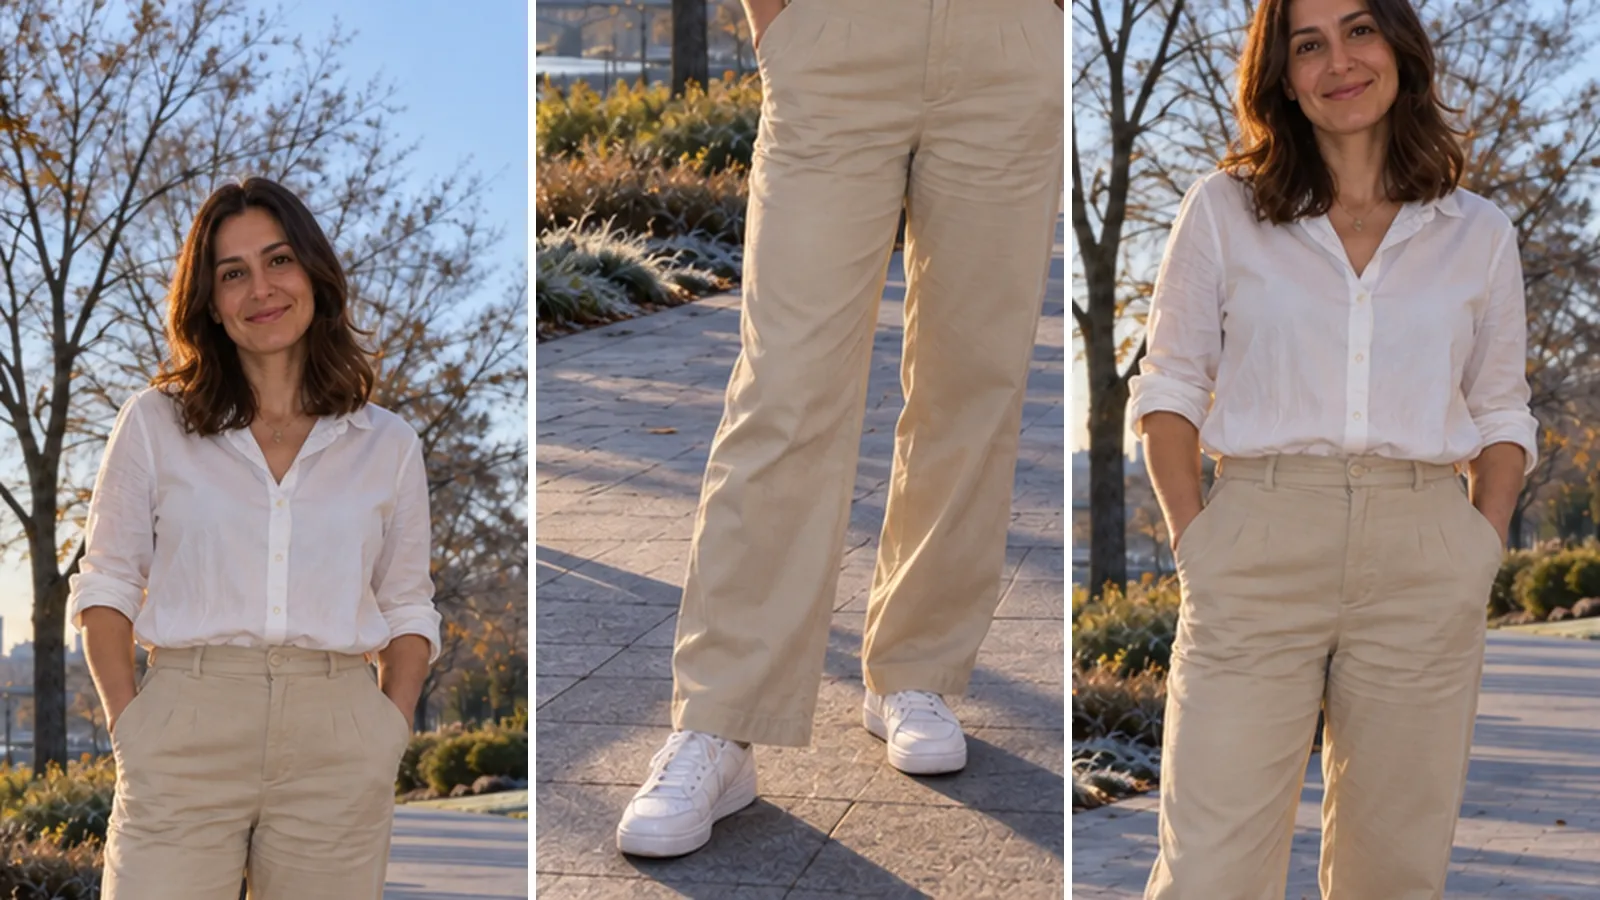
Because the image is regenerated, review it at full size before using it. Four areas deserve a close look:
- Faces. Compare the eyes, nose, and jawline against the original. Small drifts in likeness are the most common issue.
- Hands. Count the fingers and check how they bend.
- Fabric and patterns. Stripes, lace, and knit textures sometimes get simplified.
- Text in the background. Signs, labels, and book spines can turn into shapes that only resemble letters.
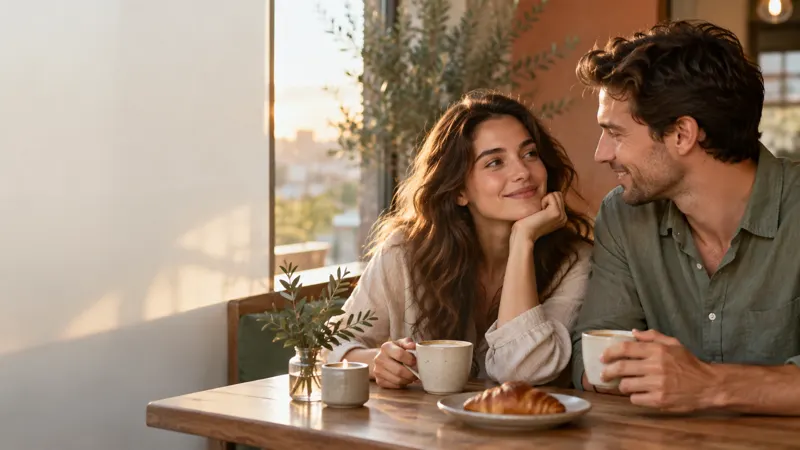
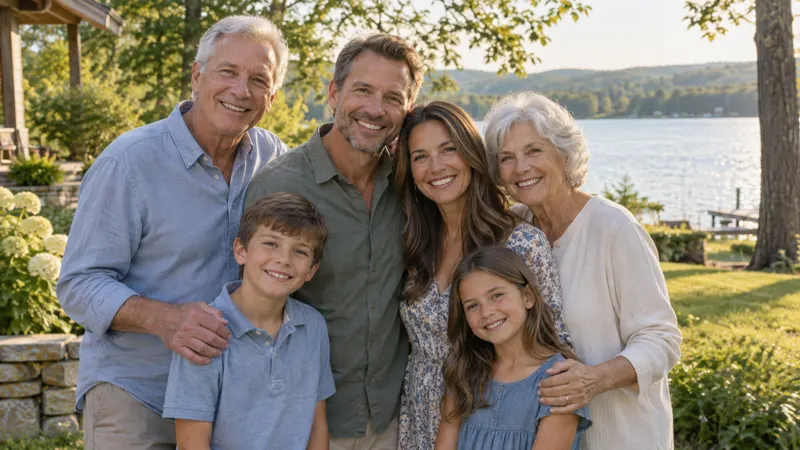
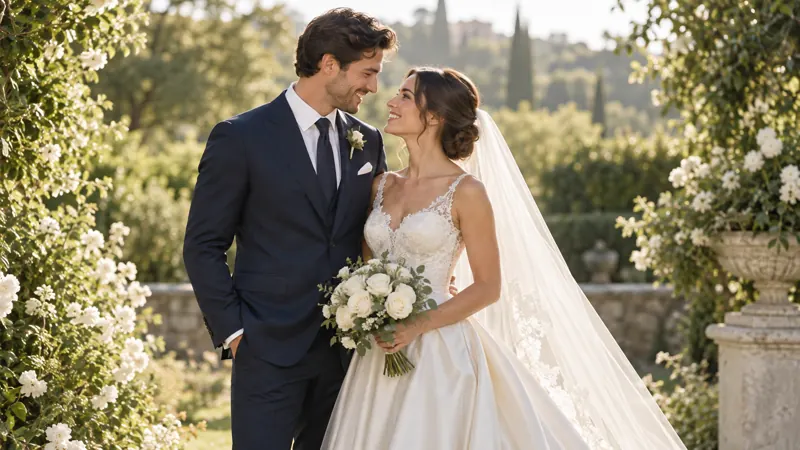
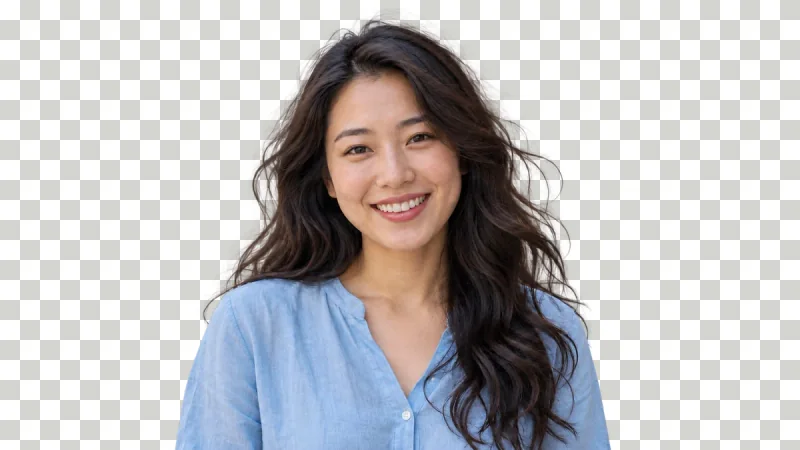
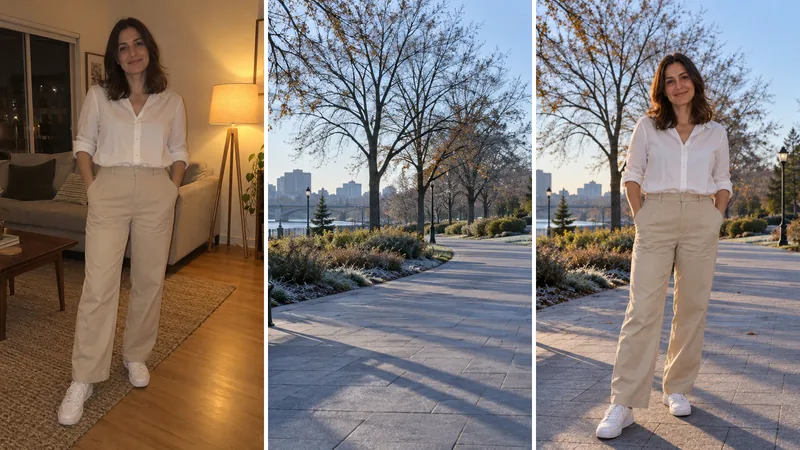
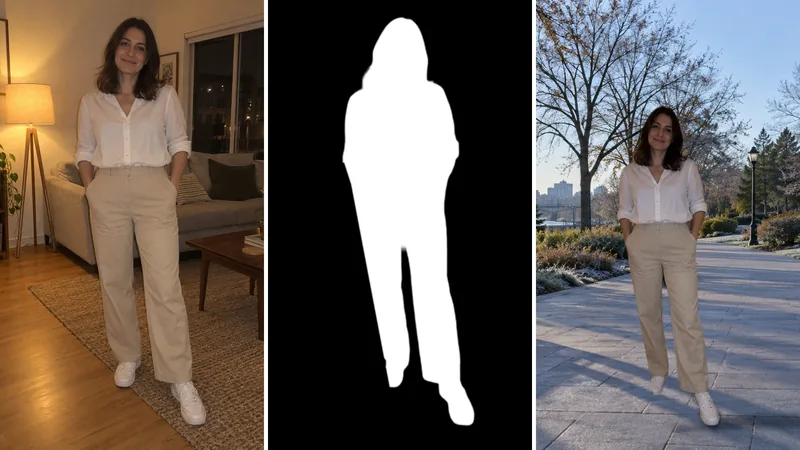
The example above shows what this looks like in practice. The face stayed recognizable and the light on it now matches the low morning sun, but the hair came out wavier and warmer in color than in the source photo, and the stance changed slightly. Nothing in that result is wrong for a casual photo. For an ID-style portrait it would matter.
If one area is wrong, fix that one thing in the prompt and generate again. Adding "keep the face from the first photo exactly as it is" works better than rewriting the whole prompt, because you can see which change made the difference.
Our guide to combining two images with AI has prompt templates for specific cases, including two people in one photo, product placement, and clothing transfer.
Method 2: Blend Two Photos with Layers and Masks
This is the classic approach and still the right one when the original detail matters. It works in Photoshop, Affinity Photo, GIMP, Photopea, and any other editor that has layers and layer masks. Menu names below are Photoshop's; the other editors have the same tools under similar names.
Step 1: Stack, scale, and position
Open the background photo, then place the second photo on a layer above it. Lower the top layer's opacity to around 50% for a moment so you can see both photos at once. Resize and move the top layer until the subject's size fits the scene, and line up the horizon or eye level between the two. Return the opacity to 100% when the placement looks right.
Step 2: Hide what you do not need with a mask
Add a layer mask to the top layer. Painting black on the mask hides that part of the layer, and painting white brings it back, so nothing is ever deleted. Use a soft round brush around the subject, with a smaller and slightly harder brush for clean edges like shoulders and a softer one near hair.
For a subject with a busy outline, an automatic selection saves time. Photoshop's Select Subject gives a starting mask you then refine by hand. Another route is to cut the subject out first with a background remover, which gives you a transparent PNG to drop straight onto the new background.
Step 3: Match color and exposure
Pick one photo as the reference, usually the background, and adjust the other to match it. Work in this order: brightness first, then contrast, then color. A Curves or Levels adjustment clipped to the subject layer handles the first two. For color, correct white balance so that neutral areas such as white shirts, gray pavement, or clouds look the same in both photos. Photoshop's Match Color command (Image > Adjustments > Match Color) can do a first pass automatically.
A quick test: add a temporary black and white adjustment on top of everything. If the subject looks brighter or flatter than the surroundings in grayscale, the exposure still needs work. Remove the adjustment once the tones agree.
Step 4: Add contact shadows and refine the edges
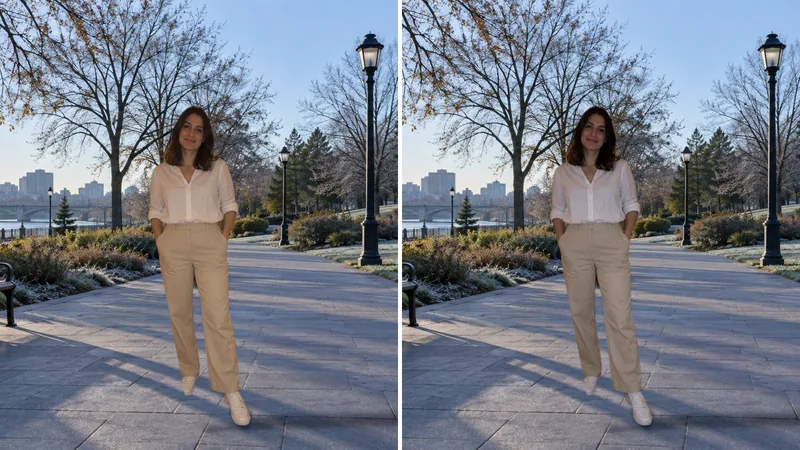
A subject with no shadow floats. On a new layer between the subject and the background, paint a small, dark, soft shadow exactly where feet or objects touch the ground, then a larger and fainter shadow stretching away from the light source in the background photo. Set the layer to Multiply and lower its opacity until it matches the other shadows in the scene.
Then zoom in on the edges. If a thin bright or dark outline surrounds the subject, shrink the mask by a pixel or two. Around hair, use the edge refinement tool (Select and Mask in Photoshop) so individual strands blend into the new background.
Step 5: Match sharpness and grain
Compare the two photos at 100% zoom. If one is sharper, apply a slight blur to it instead of sharpening the other, since sharpening adds artifacts. Finish with a thin, even layer of grain over the whole image (Filter > Noise > Add Noise at a low amount, or the grain slider in Camera Raw). Shared grain is a small step that does a lot to make two photos feel like one exposure.
If one photo is much lower in resolution than the other, enlarging it in the editor will make it visibly soft. Running it through an image upscaler first closes part of that gap.
Blending Two Scenes with a Gradient
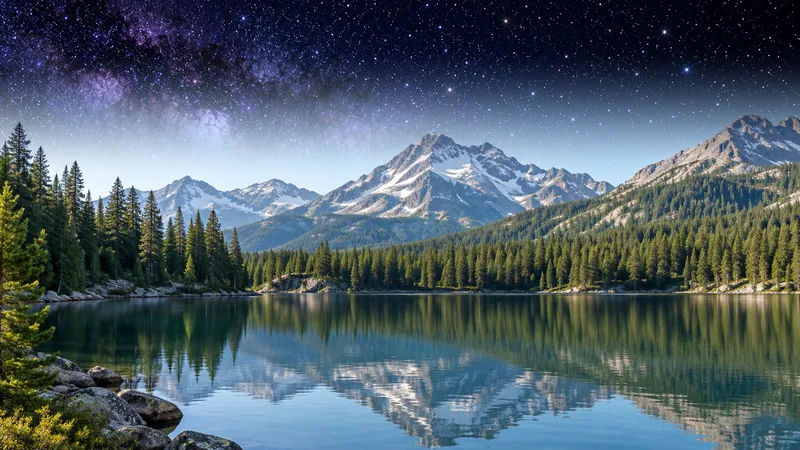
When neither photo has a subject to cut out, for example two landscapes or a skyline and a sky, you do not need a brush at all. Add a mask to the top layer and drag a black to white gradient across it. The top photo fades into the bottom one along the direction you dragged. A long drag gives a gradual fade, and a short drag gives a tighter transition.
Place the fade in an area with little detail, such as sky, water, or mist. A transition running through buildings or tree lines produces ghosted double shapes.
For the double exposure look, where a portrait is filled with a landscape, change the blend mode of the top layer to Screen or Lighten and then mask away what you do not want. This is a stylized effect and is not meant to pass as a single photograph.
The Seam Check: Review Before You Export
Whichever method you used, run through these checks at 100% zoom, then once more with the image zoomed far out. Problems with edges show up close. Problems with light and color show up from a distance.
- Follow the outline. Trace the full edge of the subject looking for halos, leftover background color, or an outline that is too clean.
- Find the light source. Shadows on the subject and in the scene should fall the same way.
- Look where things touch. Feet, hands on objects, and items on tables need a dark contact shadow.
- Compare neutrals. Whites and grays on the subject and in the background should share the same tint.
- Flip the image horizontally. A mirrored view resets your eye, and mistakes you stopped seeing become obvious again.
- Step away. Look again after ten minutes. Fresh eyes catch scale errors that are invisible while you are working.
Common Problems and How to Fix Them
| What you see | Likely cause | Fix |
|---|---|---|
| The subject looks like a sticker | Hard edges and no contact shadow | Soften the mask edge slightly and paint a shadow where the subject meets the ground |
| A bright or dark line around the subject | The mask includes a strip of the old background | Contract the mask by one or two pixels, or repaint the edge with a small soft brush |
| The subject looks too yellow or too blue | White balance differs between the photos | Adjust color temperature on the subject layer until neutral areas match |
| The subject seems to float or lean | Camera height differs between the photos | Lower or resize the subject so the eye level lines up with the horizon, or choose a different background |
| The face changed in an AI blend | The source face was small or blurry, or the prompt did not ask to keep it | Use a sharper portrait and state that the face must stay unchanged |
| One half looks sharper than the other | Different resolution or focus | Blur the sharper layer slightly and add the same grain over the whole image |
Frequently Asked Questions
Bring your images together into one scene
Upload your reference pictures, describe how you want them to fit together, and let our intelligent image combiner and photo merger combine photos into a seamless composite in seconds.